Story-time
I saw SquaredUp some year or two ago while googling about on behalf of a customer looking for a dashboard kind of thingy. It looked good and fairly simple, but for some reason it never clicked with the customer and we ended up going for some custom-made dashboards with a little scripting and some DB-queries. I kind of liked the look of their product though and have kept an eye on them now and then.
Fast-forward to may 21st this year and the release of version 1.8 and a whole slew of nifty little features. What specifically piqued my interest was the linked dashboards, SharePoint integration and the included SLA and Map plugins. This basically ticked a lot of boxes many of my customers have looked for and something we’ve normally been looking into… err… other products for. That, coupled with some new videos on their Youtube-channel, a few well-placed tweets and a little mail-correspondence had me setting it up in my portable little lab.
One of the interesting points is how, supposedly easy, it is to set the portal up. So I reset my lab – PDT is just wonderful – and decided to go for the hail-dummy approach. No manual, no preparations, no check-lists… Next-next-next then hopefully a working portal.
The Installation
First, download the installation file (yes, singular) through the link you’ve got in your email and save it somewhere proper.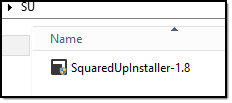
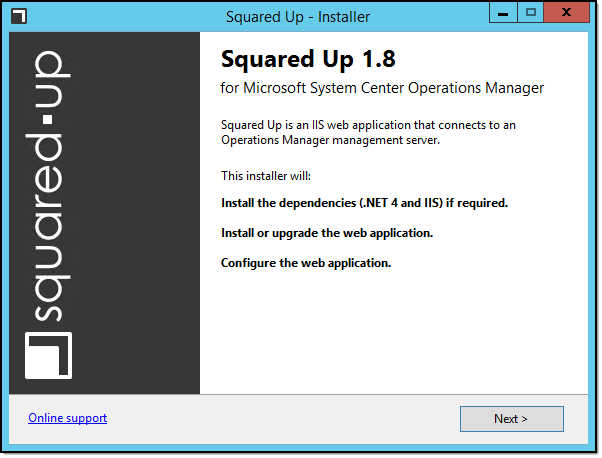
Doubleclicked the installation packaged and it now tells me it will install a few pre-requisites and configure the website for me. Next!
The EULA I am sure each one of you are reading. Next!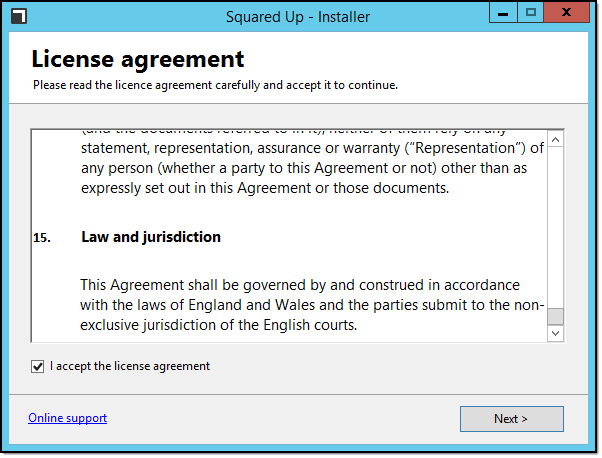
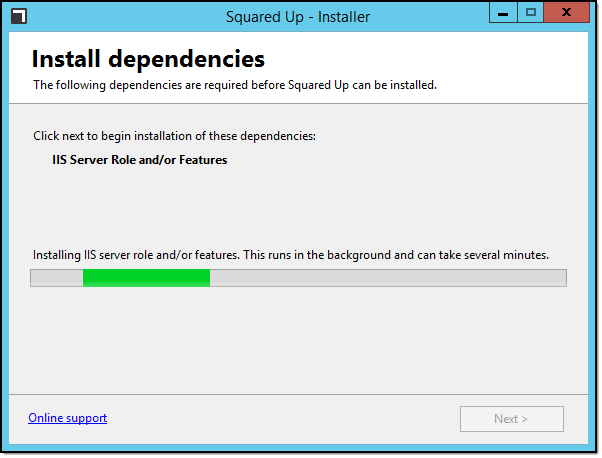
Installing, or rather configuring, IIS and pre-requisites for me. Very nice. Next!
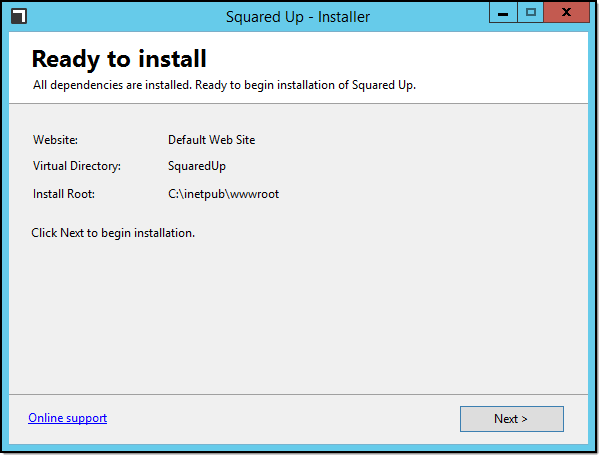
Quick summary before actual installation. Next!
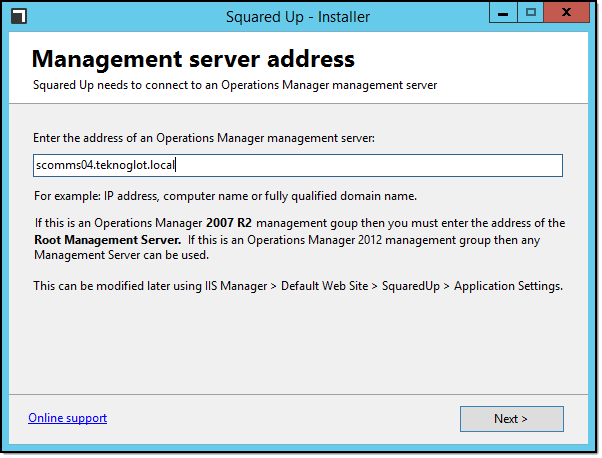
This step actually requires a little action on your part. In this installation, the default setting “localhost” would actually work but I prefer to actually configure these things properly. I only have a single Management Server in this lab, so testing a load-balanced highly available scenario was not possible. Enter Management Server name, then Next!
After a slight case of progress-bar the installation is now complete. Click link and exit the installer. Time spent so far is less than ten minutes, probably closer to five.
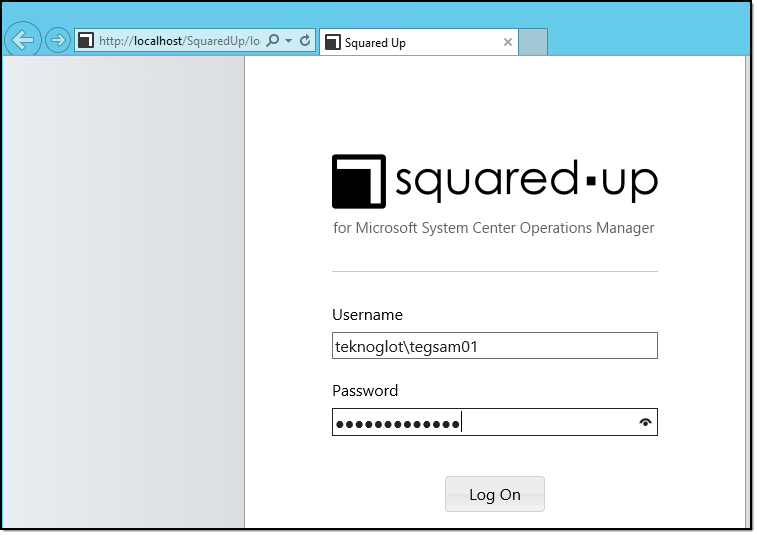
Now it’s time to login using your normal SCOM credentials.
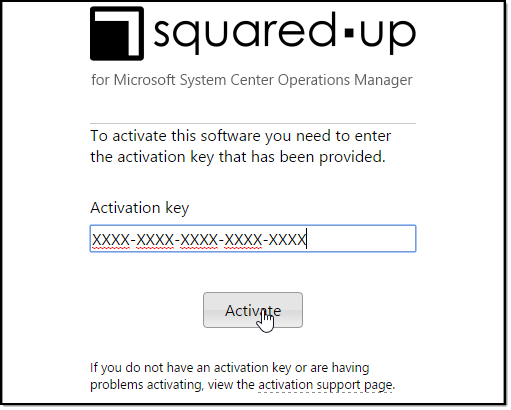
First login will bring you to the Activation Screen. Simply paste the activation key from the email and Activate. This requires a working internet connection.
That’s it! Well… not really. Navigating the portal I noticed that the spark-lines aren’t showing, and hitting the “View Performance” link on an object view gives me a “Login failed for user…” error. I know I saw something about configuring the Data Warehouse in the email, so I check the blissfully simple Settings panel.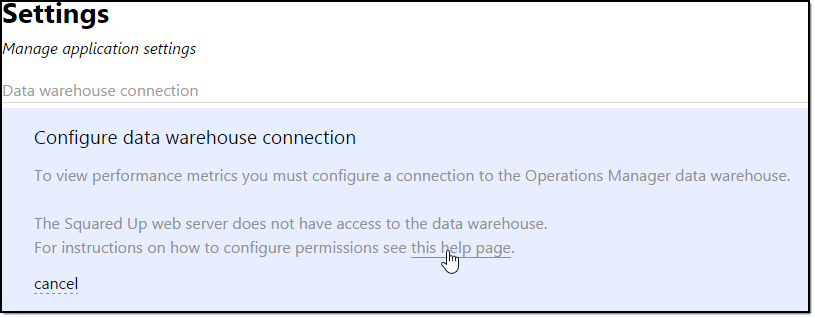
Followed the instructions to configure the security of the OperationsManagerDW database for the SquaredUp web application, and that’s really it. Portal is up and running, spark-lines working. Ready to go.
Conclusion
I wish more products and “add-ons” to SCOM were this easy to install. No extra databases, no extra permissions, no extra infrastructure. I would like to try it out in a larger environment and see what the load on the website, the databases and the data access service will be. It would also be necessary to verify that it works properly when the management servers are behind a load balancer and maybe even putting the SquaredUp portal behind one itself. Since there is not a lot of configuration to be done and no database, it should work. We’ll see.
Next up will be fiddling about with custom dashboards, maps, and generally figuring out what else we can do.